QUICK DEV TIP #19 UE4 - TWEAK ANIMATIONS IN EDITOR
Animations can take a long time to make and get right but sometimes all you need to do is rotate something a touch to get it looking or acting correctly and that’s where today’s quick dev tip comes in!
Did you know that you can tweak animations in the editor?
If you would prefer to watch the video version, check it out here
This is never going to replace animators animating but there are a bunch of situations where it can be useful for example prototyping, game jamming or when you have a store-bought animation that you don’t have the source files for and so cannot easily edit outside of the engine. In my example below I have a sit animation from a marketplace pack, it’s almost what I want but I need the head to be looking right instead of left for my game. This is where animation tweaking can help.
If we open the sitting animation sequence and go to the Skeleton Tree details tab, we see a full list of the bones that are in the character. We can click on the bones from this list as an easy way to select them. In our case, we want the head bone.

Depending on the angle of the bone you may want to switch between local and world rotation to what best fits your need when animating. Local takes the bones rotations whereas world will not.

You can then use the rotation gizmo to rotate the bone to the position you want, just like you would in the editor viewport when moving an object around. Before you do this I would advise you to make sure the animation sequence is paused and that you scrub the timeline back so you are on the 1st frame of the animation sequence.

When you are happy with your new position Click the Key button at the top of the editor, then hit Apply to finalise it. The animation that we are adding here is Additive, which means it is not destructive to the actual animation its is simply applying an offset. For the purpose of what we are doing here, adjusting the head to look right for the entire animation we only need to add a single keyframe.

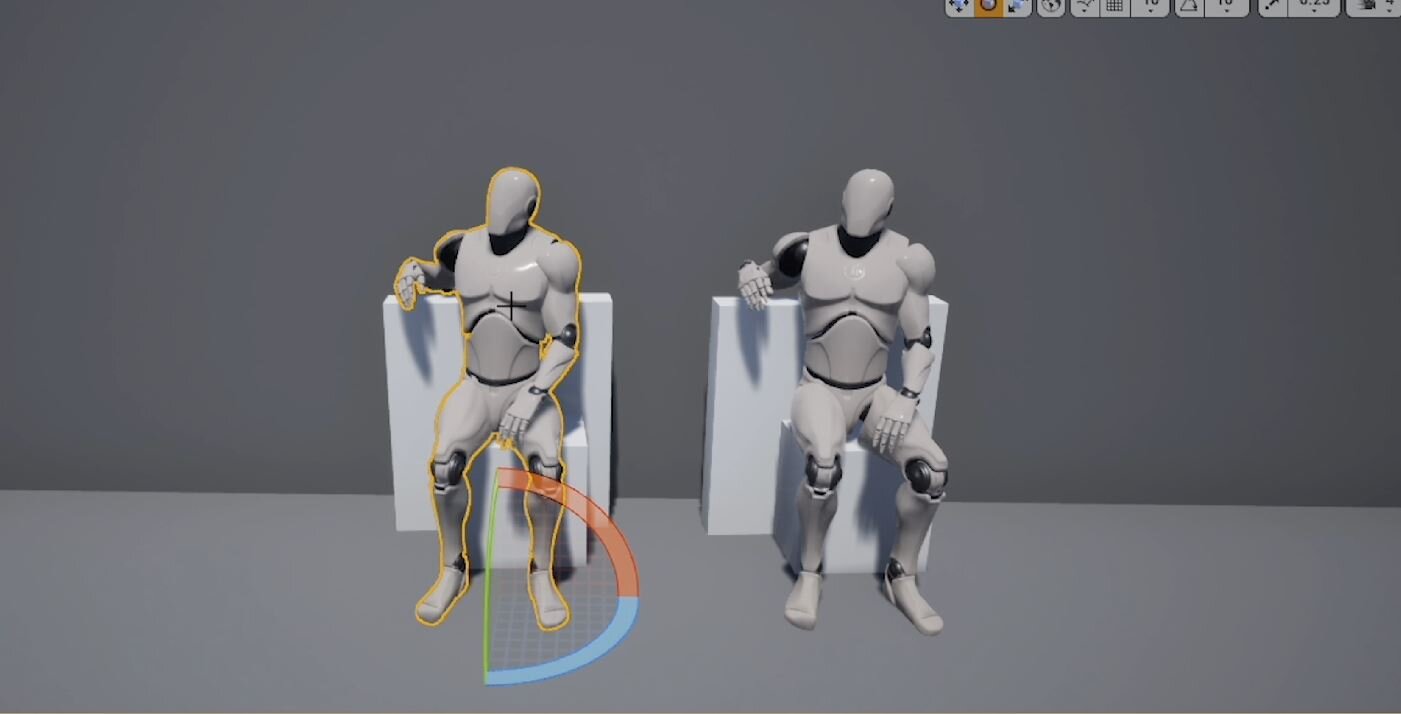
So now if we look at the original and the edited version side by side we can see the difference between the two.

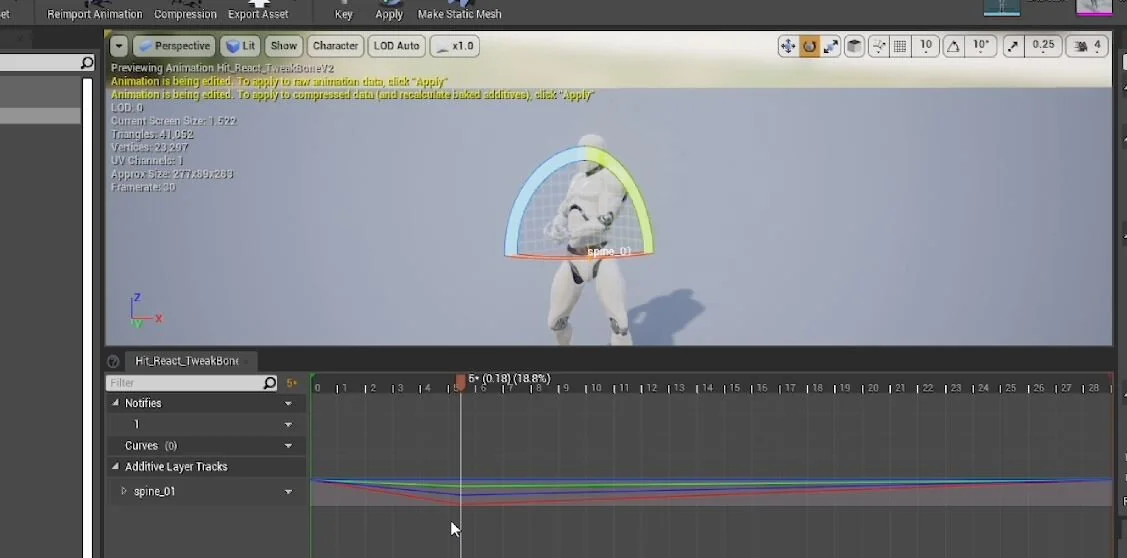
For my second example, we are going to take a hit react animation, duplicate it and hackly create extra variants from it. If we go into a duplicated animation sequence, we can select spine_01 and add a keyframe at the first frame and the last frame. This is so that we can return to the original poses.

We can then go to the maximum extent of the hit (in this case around Frame 28) then at this point we can add further rotation and Set A Key and hit Apply. You will see the lines change in the additive layer track for the spine bone. This is an animation graph editor-style view of the animation.
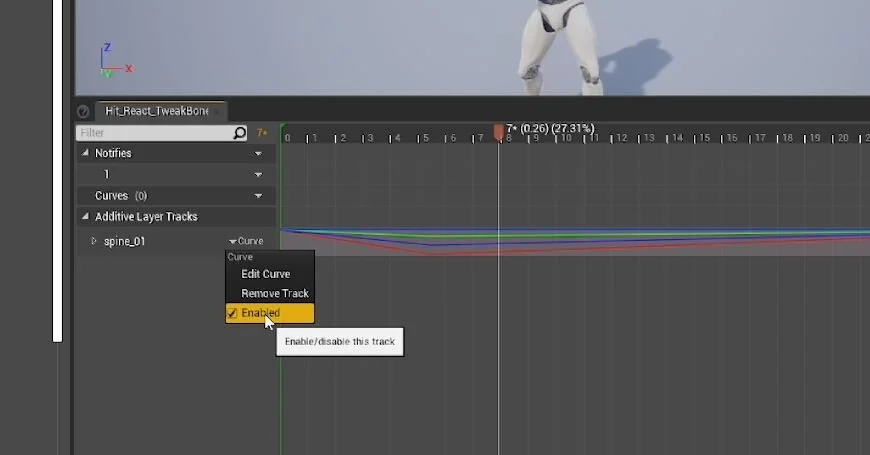
A useful thing to know about here is the Enable functionality. If you click on the curve dropdown arrow on the bone layer track you have edited you will get some options and the one we are looking for here is the Enable option. Toggling this on and off will allow you to quickly see the changes you have made.
We can duplicate the original animation again and make another variant using the same technique but this time rotating the spine in a completely different direction at the maximum extent.

It’s hard to tell from a still image but hopefully, you can see that we have quickly created variation in only a handful of clicks. It will never look as good as something that has been animated specifically for this purpose but it is a quick way to create further versions and at the very least great for a placeholder.

One of the downsides of this animation tweaking is that by default the skeleton is not rigged up (Epic recently release a new control rig system that you should look into if you are interested). This means that you have none of the advantages of IK. For example, IK is normally used in rigs for legs to allow you to move the foot with the calf and thigh following along behind. If we try this in engine the foot just moves to leave the rest behind, definitely not what we were after!

Like I said at the beginning this is never going to replace an animator but it is very useful none the less.
Want to know when I release new quick Unreal tips & tricks?
Enjoyed this? Check out my other work: